Adding documents
Last updated: 27 February 20241. Frontend
There are three methods of creating documents and uploading files from the frontend of your site, depending on the use case and workflow that you require.
1.1 Adding documents one by one
Logged-in users with create permissions can click the 'Add a document' button on the top of each category when browsing categories from the frontend which will open a new document form.

This workflow is intended for users who know where to upload files, i.e. they are managers or owners of a certain category.
For more info about the different permission settings that can influence the workflow check the permission levels documentation.
1.2 Adding multiple documents in batch
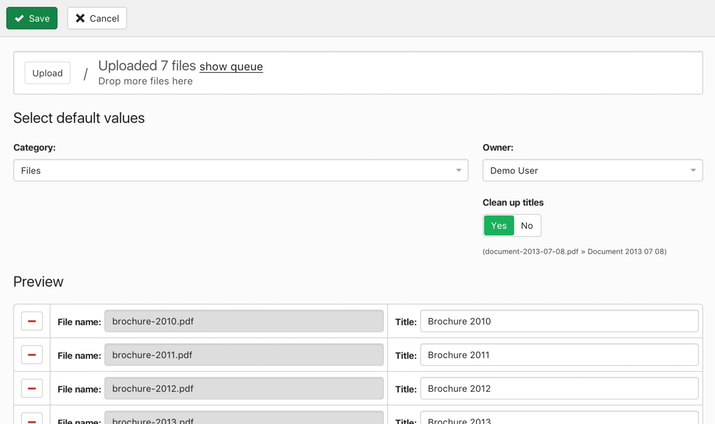
Logged-in users with create permissions can click the 'Upload' button on the top of each category when browsing categories on the frontend which will open the multiple file upload window.
The file upload window allows you to upload multiple files and batch create documents for them on the fly. You can specify the title for each document and the category the document should be created into. You can also set the owner for the documents and choose to clean up the titles.
For more info about the different permission settings that can influence the workflow check the permission levels documentation.
1.3 Submitting documents
You can setup a submit a document menu item which allows any visitor or logged-in user to submit files to your site.
This workflow is primarily intended for users who are submitting files for review and have no idea about your category structure and where the file should go. This acts like a dropbox workflow. Users submit the documents and you can then review them and publish them?
It is possible to automatically publish the submitted document or be notified through email when a document is submitted.
2. Administrator
There are three methods of uploading files and creating documents from the Administrator section of your site.
2.1 Adding documents one-by-one
This workflow is identical to steps 1 & 2 of Getting started with DOCman > Three steps to get started. Firstly ensure that you have a category for the document you are adding and then upload your file and create a document.
2.2 Adding multiple documents in batch
Navigate to Components > DOCman > Documents in Joomla's administrator interface and click Upload to open the multiple file upload window.
![]()
![]()
2.3 Automatically creating documents and folders
DOCman is able to create documents and categories from files and folders on the fly.
Learn more about auto create documents and categories from files and folders.
3. The document form explained
When you add a new document you will be presented with the following screen.

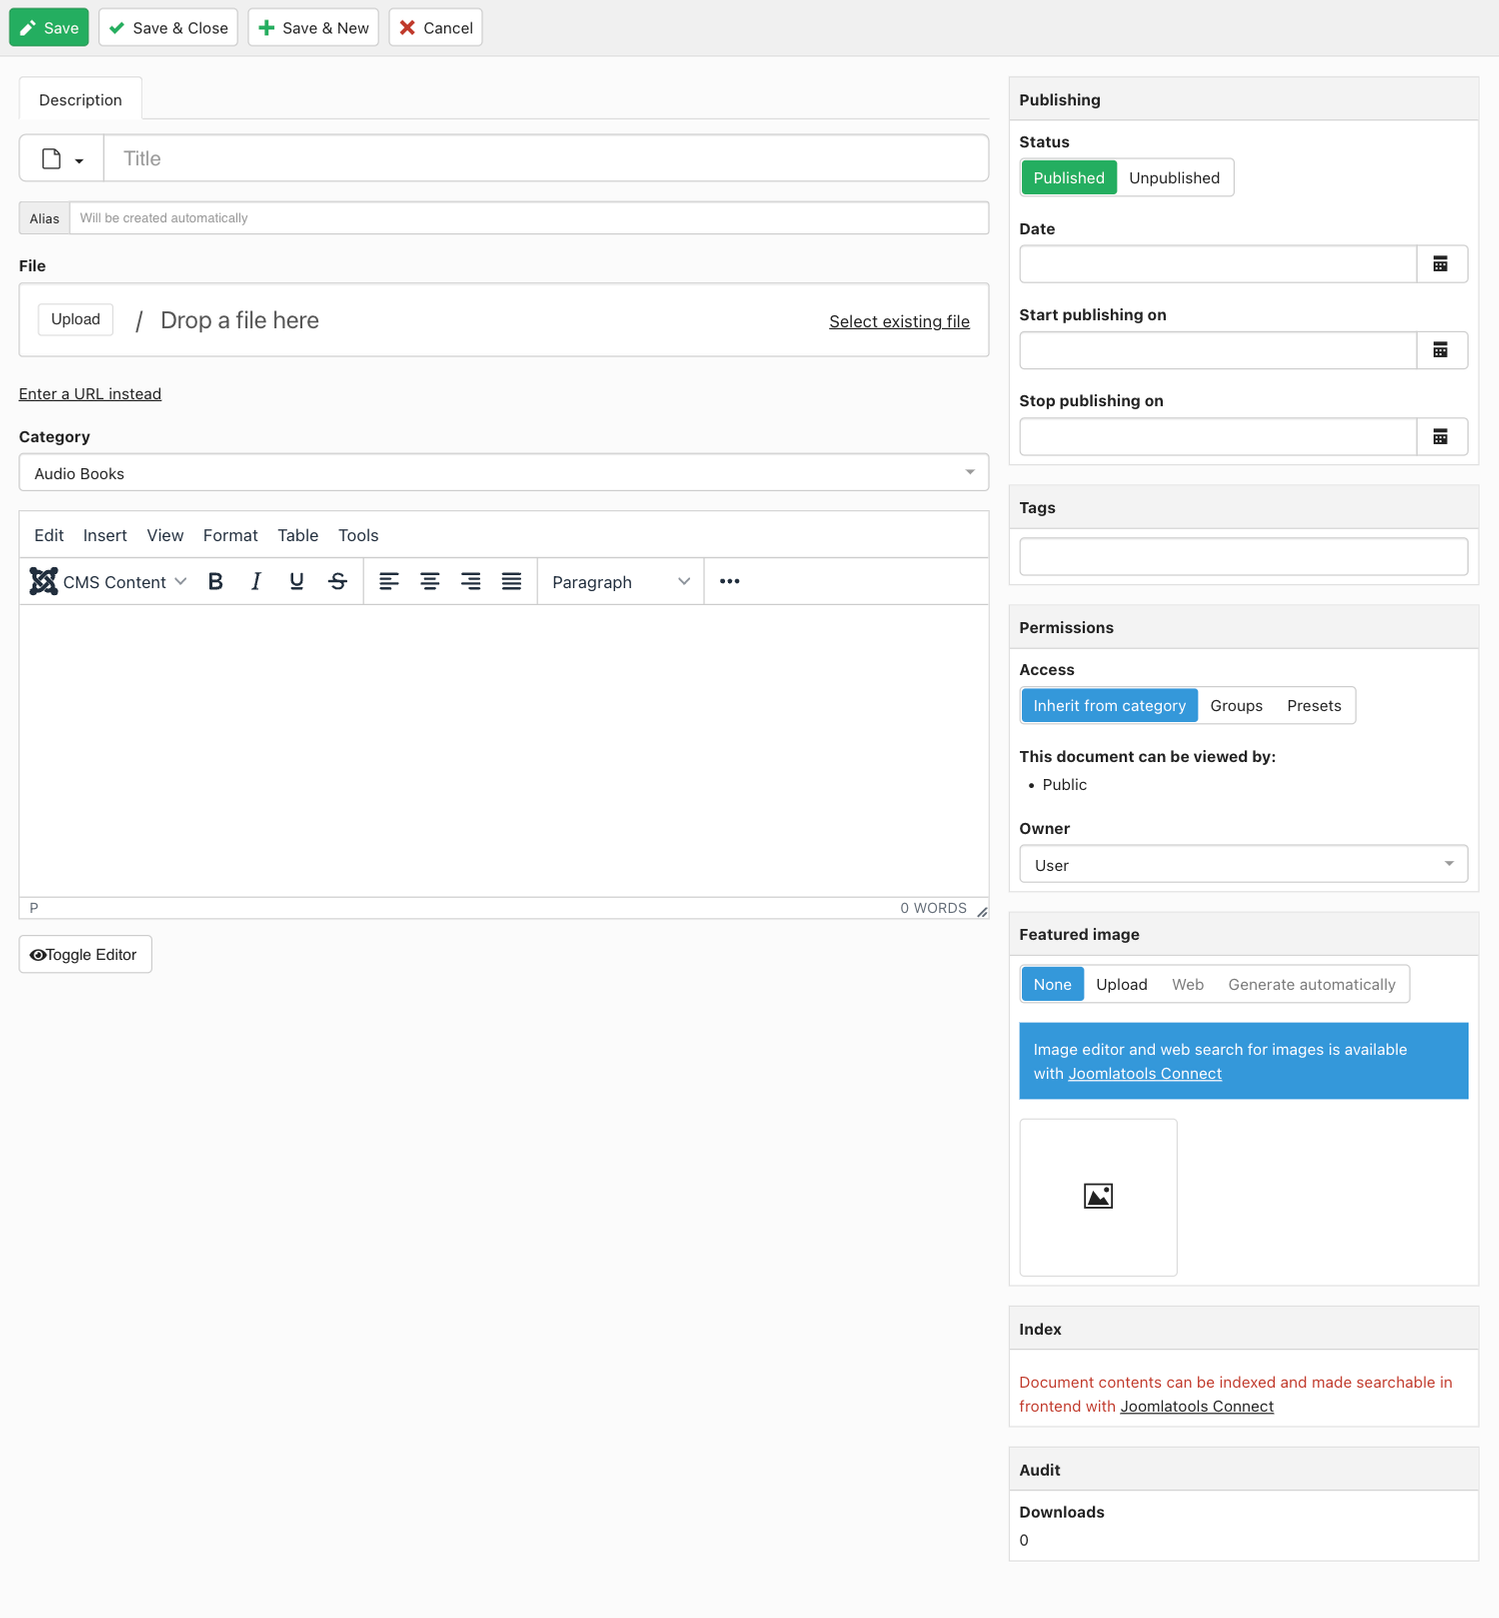
3.1 Title


Add your document title in this field, you can click on the icon next to the title to select an icon from the default list or add a custom icon.
3.2 Alias

The document alias will be generated automatically from your document title, but you can also edit this field to set a custom alias. The alias when generating URL's for your document.
3.3 File

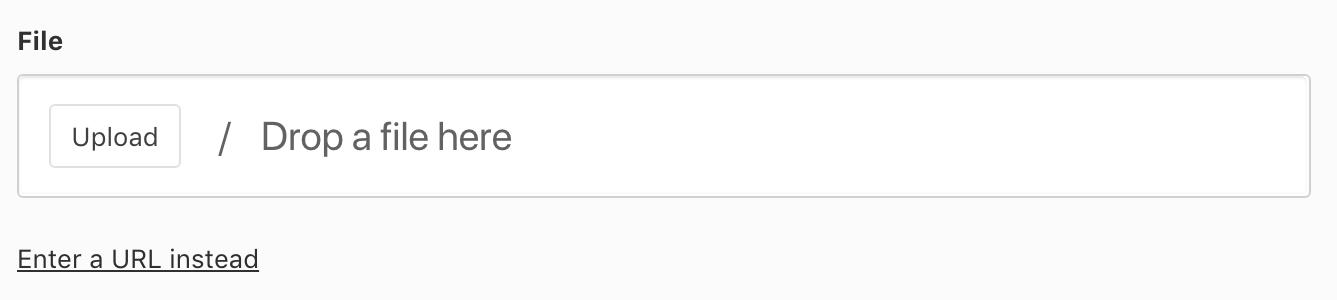
You can upload (or drag and drop) a new file to associate with your document or you can enter an URL instead, to link to a cloud based file, such as a file stored on Dropbox, Microsoft OneDrive, Google Drive, etc ...
Learn more about linking to cloud files.
DOCman includes a built-in media player to automatically stream audio and video files, providing stylish control options such as play/pause buttons, timeline, volume control, and full screen playback. You can upload a video or audio file or link to a file on Youtube or on Vimeo.
Learn more about playing video and audio files.
3.4 Category


Select the category for your document. In the administrator you will see all the categories, in the frontend you can only see those categories you have access to through the menu item you are in.
Learn more about categorising documents.
3.5 Description

You can enter a description for your document in the WYSIWYG editor. The description will be shown on the individual document details page and in the listings page if you use a list layout.
Learn more about menu types and layouts.
The description is also indexed by the built-in DOCman search engine and can be used to find documents more easily.
Learn more about searching documents.
3.6 Publishing
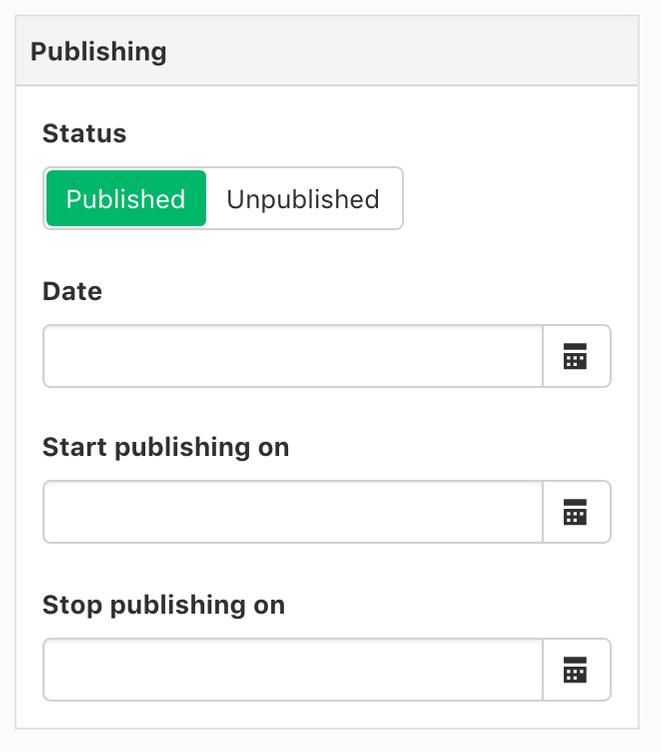
You can set the following information for your document:
- Whether or not your document is published or unpublished
- The create date for your document
- The date on which your document should start publishing on. If left blank the document will be published immediately (assuming the document is published)
- The date on which your document should stop unpublishing on. If left blank the document will not be unpublished and will always be published (assuming the document is published)
Learn more about scheduling documents.
3.7 Tags
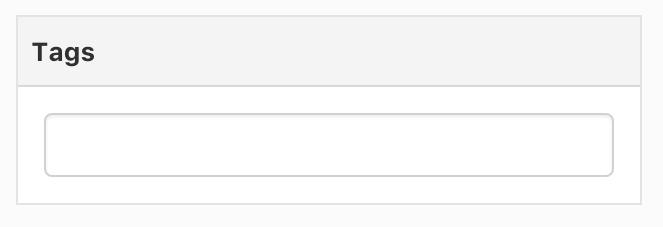
You can add tags to your document for easier indexing.
Learn more about tagging documents.
3.8 Permissions
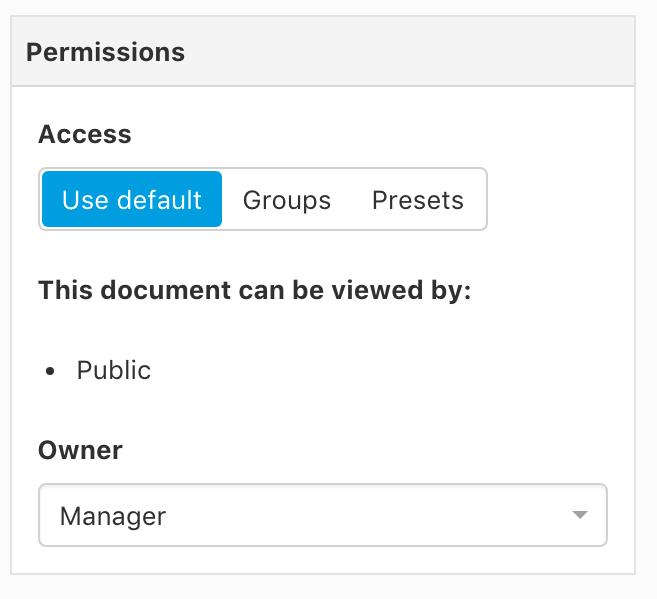
You can set the access level for your document to control which usergroup(s) can view the document and you can set the document's owner.
Learn more about configuring permissions.
3.9 Featured Image
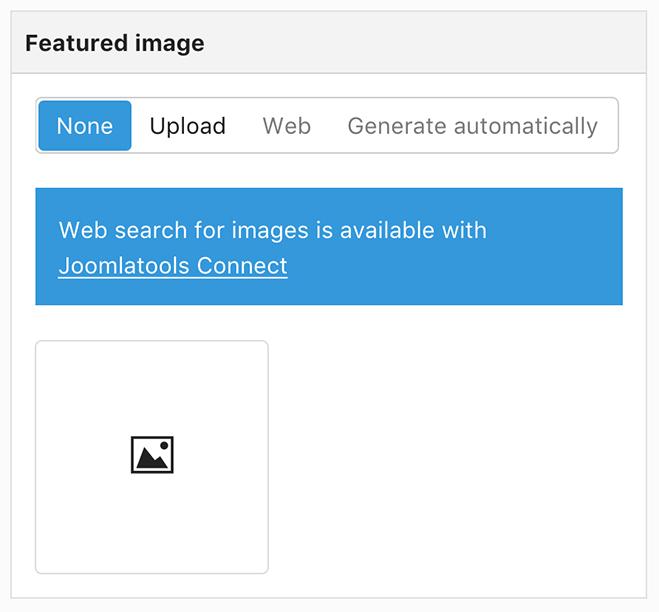
You can upload an image to use as the document's featured (thumbnail) image
The web option is only available to Business or Agency subscribers that have our Joomlatools Connect service installed. You can use web search to select a stock image.
If you use Joomlatools connect you can also automatically generate a featured image for non-image file types (pdf, audio, tiff, ...), or from very large images.
3.10 Index
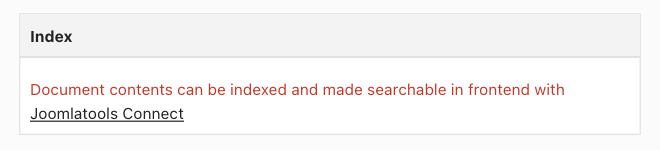
If you have Joomlatools Connect installed, the index panel lets you see the document content that's been indexed and will be searchable by your site's users.
3.11 Audit

The audit panel lets you see at a glance how many times your document has been downloaded.