
Let's Encrypt is a automated and open certificate authority that allows you to create free SSL certificate for your websites. All you need is a live domain to get started.
Fortunately, cPanel comes bundled with a Let's Encrypt plugin for the AutoSSL feature.
Installation
Before you can use the Let's Encrypt plugin, you need to install it. Make sure you are running at least cPanel & WHM version 58.0.17 or higher.
- Log in to your WHM/cPanel server via SSH as the root user.
Execute the following command to install the plugin:
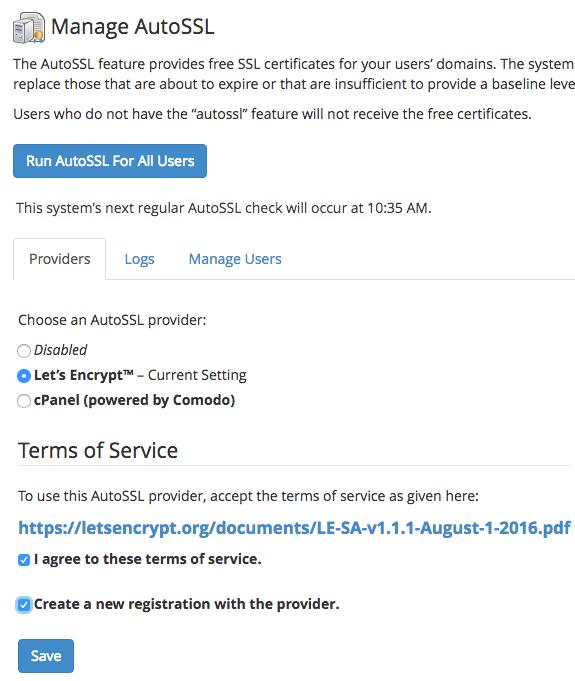
/scripts/install_lets_encrypt_autossl_providerLog in to WHM and go to the AutoSSL feature via Home > SSL/TLS > Manage AutoSSL.
- In the list of AutoSSL Providers you'll now see Let's Encrypt listed. Select it and check the Terms of Service checkboxes.
- Press the Save button.
Install the certificate
Now we can request a certificate for your website. The AutoSSL feature needs to be enabled per user. Once enabled, it will automatically request certificates for every domain the user owns.
- Open the Manage Users tab on the same Manage AutoSSL page.
- Find the user you want to enable the feature for.
- In the Toggle AutoSSL column, select Enable AutoSSL for the user.
- Press the Check "user" button in the Run AutoSSL Check to request a certificate.

The AutoSSL feature will ask Let's Encrypt to verify your domain and issue a new certificate. From that point on, AutoSSL will make sure to renew your certificate when it's about to expire.
To verify everything worked OK, you can take a look at the Logs tab to inspect the results.
Configure Joomla
All that's left to do is configuring your Joomla site. We want to make sure it serves all pages and assets via SSL:
- Open up your Joomla administrator.
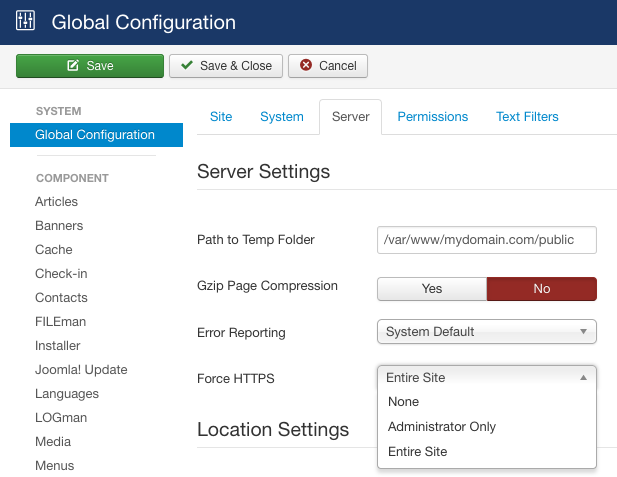
- Go to System » Global Configuration.
- Open the Server tab.
- Set the Force HTTPS option to Entire site.
- Browse to your website and test!
That’s it! Your website is now securely serving content to your visitors!
It's important to note that Let's Encrypt imposes some rate and domain limits. More background can be found in the AutoSSL documentation.